Dev Blog week 2 [MOD] Rewriting the Wilds: How We’re Taking Control of Creature Spawning in Satisfactory

As we expand the world of The Wilds, we’re not just adding new creatures—we’re reengineering how they appear, behave, and challenge players across the map. One of our core goals is to make creature encounters more strategic, more diverse, and more deadly. To do this, we’re implementing a two-pronged approach to creature spawning using the Satisfactory Mod Loader (SML).

Phase 1: Overriding Existing Spawns with SML Hooks

The base game uses a variety of ACreatureSpawner actors placed in the world to control spawn logic. These spawn volumes dictate what creatures spawn, how many, and how often. But to avoid simply stacking our creatures on top of existing ones—and turning the map into a laggy zoo—we need to intercept and override those systems.

Using SML hooks, we inject our own subsystem that runs after the game world loads. In this system, we dynamically locate all ACreatureSpawner actors using GetAllActorsOfClass, filter them based on creature type or location, and either:

  • Disable them entirely
  • Reduce their spawn count
  • Replace their spawn class with one of our new creatures
  • Increase creatures based on scalable dificulty
  • Mix creatures based upon scalable dificulty

This gives us surgical precision over which original creatures remain and where.

Phase 2: Controlled Spawns via Custom Placement System

Our second system is a fully custom creature placement manager, built as a game subsystem. Instead of relying on static spawn volumes, we define spawn points ourselves, using either:

  • Blueprint-placed invisible marker actors
  • Hardcoded world coordinates
  • Or a data-driven table for spawn presets

Each spawn point can specify:

  • Creature type (standard or boss)
  • Spawn timing (on load, wave-based, triggered)
  • Patrol points for pathing
  • Aggression level and behavior mode

This approach lets us do things like:

  • Place a Terror Pod in ambush near a lake
  • Populate a desert basin with patrolling packs
  • Drop a boss monster into a nest at nightfall
  • Create caves with swarms of creatures that will migrate towards a target.

Together, these systems form the backbone of The Wilds creature expansion.

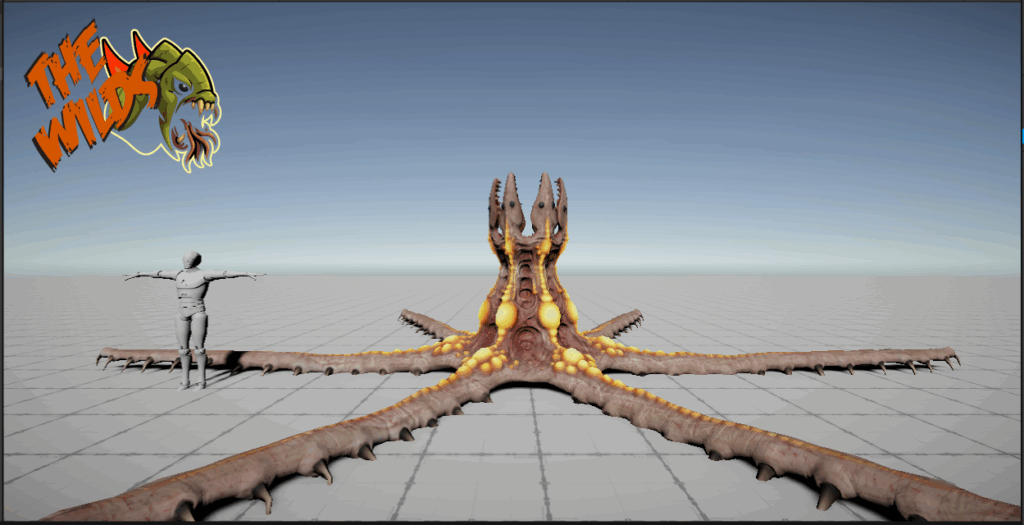
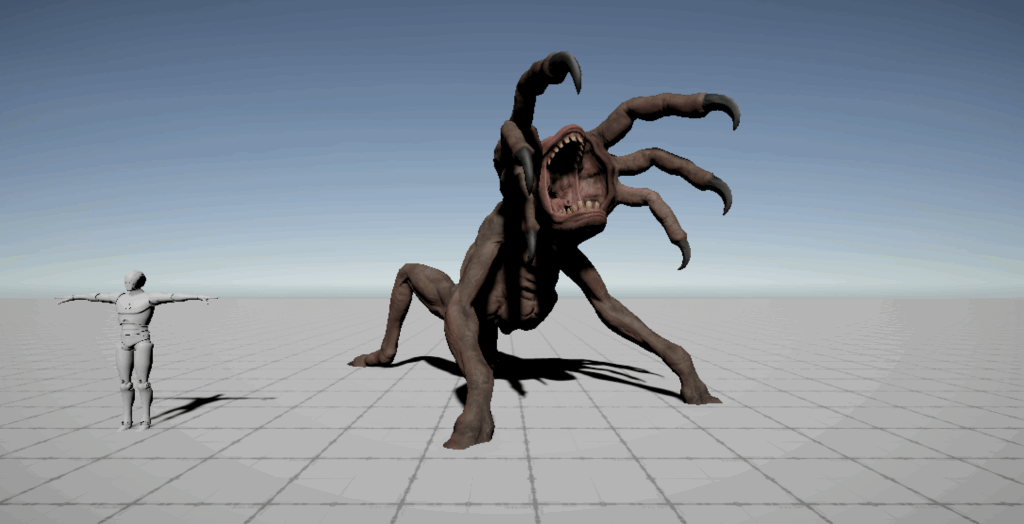
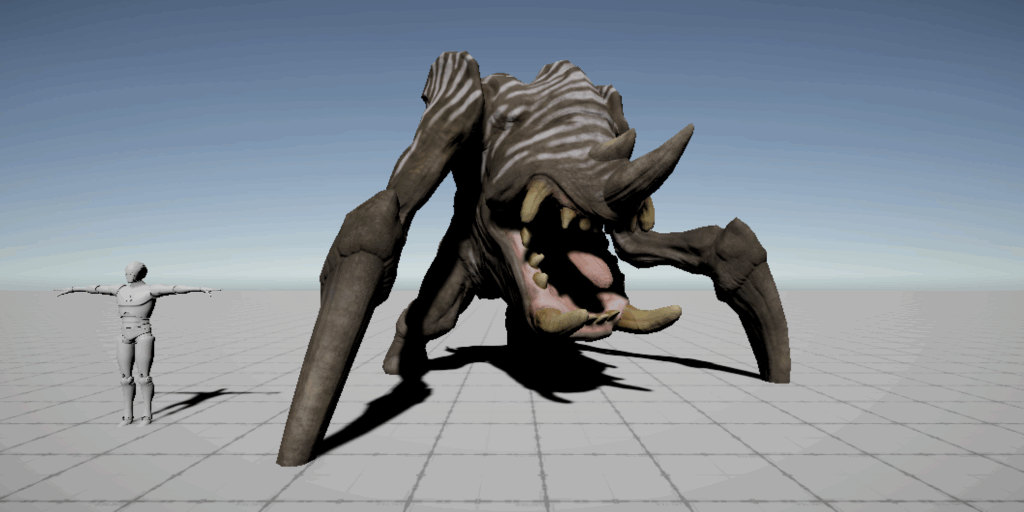
Unity: Vetting Protofactor Assets

On the content side, we’ve been importing more Protofactor creature models into Unity to review animation sets and evaluate rig quality. This process helps us shortlist which creatures are best suited for our mod in terms of combat readability, uniqueness, and integration potential. By testing them in a controlled environment, we can confidently choose which monsters will make the cut for The Wilds and identify what animation work is required before Unreal integration begins.

C++ Foundation Work Begins

Lastly, we’ve started roughing out the C++ classes that will form the core of The Wilds: Creature Expansion Mod. This includes base classes for creature AI, wave behavior, nest controllers, and environmental triggers. The modular design will make it easier to scale and tune the experience as the mod grows.

Stay tuned—we’re getting closer to seeing our first creature come alive in Satisfactory. See you next week, here are a couple more critters that we are considering.

We are discussing over on Reddit @ https://www.reddit.com/r/satisfactory/comments/1m9d0zu/dev_blog_week_2_mod_rewriting_the_wilds_how_were/

Dev Note: Handling Licensed Assets in The Wilds

GitHub: EvilGeniusGames/TheWildsCreatureExpansion

One important consideration we’re working through is how to manage licensed creature assets inside the project.

The models we’re using are final production assets from ProtoFactor, and while we have a valid license to use them in this mod, that license does not permit redistribution — including uploading the source FBX files or textures to GitHub.

To stay compliant, we’re setting up the project structure so that licensed assets are excluded from version control and only exist locally during development. This likely means:

  • Adding all asset folders to .gitignore.
  • Providing placeholder proxies in the public repo, if needed for build integrity.
  • Documenting asset paths and setup steps for collaborators without redistributing the original content.

It’s not ideal for full open-source collaboration, but licensing terms have to be respected. All mod logic, systems, blueprints, and tooling will remain fully available in the repo — only raw media assets are excluded.

If you’re running into similar issues in your own projects, feel free to reach out. We’ll likely publish a more formal asset-handling guide as the project matures.

Dev Blog: The Wilds Creature Expansion — Week One

GitHub: EvilGeniusGames/TheWildsCreatureExpansion

This week has been about laying the groundwork for The Wild Creature Expansion, the first module in The Wilds mod series for Satisfactory.

  • Editor Setup: I’ve got the Unreal Engine 5.3.1 editor and mod tools installed and configured with Alpakit, targeting Satisfactory 1.1 A few false starts, but everything is building and launching cleanly now.
  • Asset Prep: I’m working with final FBX assets from ProtoFactor, which include rigs and baked animations. Right now, the goal is to get the first creature imported and rendering properly in the editor.
  • Animation System: I’ve started learning Unreal’s animation tools — animation blueprints, state machines, and retargeting. It’s a lot deeper than expected, so there’s a learning curve, but I’m starting to piece things together.
  • Unity Viewer: Built a quick Unity scene to preview creatures, textures, and animations to speed up evaluation before doing full Unreal imports.

Initial focus will be on creatures for the Dune Desert biome. One early concept, the Terror Pod, is a swamp ambush creature — it hides underwater with just a flower-like lure showing. At night, its glowing orange vents make it visible, but during the day it’s nearly invisible.

Next week’s goal is to get a creature fully visible and idle in the world — and continue learning the animation pipeline.

The Wilds: A Satisfactory Mod – Project Launch

Welcome to the official launch of The Wilds: A Satisfactory Mod!
This project aims to transform the factory-focused world of Satisfactory into a more intense survival experience. You’ll face hostile creatures, defend your base with automated turrets, and survive escalating wave attacks triggered by the day-night cycle.

We’re adding:

  • Aggressive creature behavior and new biome-specific enemies
  • Factory structures that can be damaged and must be repaired
  • Modular defense systems powered by your factory and fed with factory-produced ammo
  • Multiplayer-aware scaling and support for multiple sub-bases

This is an open-source, community-driven effort built by Evil Genius Games. We’re looking for feedback, discussion, and collaborators—so if this sounds interesting, jump in!

Follow and Connect:

Let’s make Satisfactory wild.

Exploring the MiniMig 1.97 Board: A Modern Take on Classic Amiga Computing

The Amiga community has always been passionate, with enthusiasts constantly looking for ways to preserve and experience this iconic piece of computing history. Recently, I came across the MiniMig 1.97 board from MiniMig.ca, a project dedicated to bringing the charm and functionality of classic Amiga hardware into a modernized, compact format. This board offers an intriguing solution for those who want the Amiga experience without relying solely on original hardware.

What is the MiniMig 1.97?

The MiniMig 1.97 is a hardware recreation of the classic Amiga, designed to replicate the look, feel, and performance of an Amiga 500 but in a smaller, more modern form factor. Built around an FPGA (Field Programmable Gate Array), it can emulate the original chipset and custom hardware, providing a near-authentic Amiga experience. The 1.97 version brings additional refinements and updates, making it one of the best options for those wanting a robust yet streamlined Amiga setup.

Key Features of the MiniMig 1.97

This version of the MiniMig comes packed with valuable features that make it versatile and easy to use. Some highlights include:

  • Compact FPGA Design: The board uses an FPGA chip that closely emulates the classic Amiga chipset, allowing it to run original software and games with impressive accuracy.
  • Storage and Connectivity Options: The MiniMig 1.97 supports SD card storage, making it easy to load software and games. It also features HDMI output, a massive advantage for modern displays, and USB support for keyboards and controllers.
  • Customization and Flexibility: The board allows you to modify various settings, allowing users to tweak aspects like CPU speed, chipset configuration, and memory. This flexibility means you can adapt the experience to closely match your preferred Amiga model or optimize for specific software.

Why the MiniMig 1.97 is a Great Option for Amiga Enthusiasts

For anyone interested in experiencing Amiga software and games on more reliable and accessible hardware, the MiniMig 1.97 is an excellent choice. Unlike relying on vintage hardware that might require constant upkeep, this board offers a more stable, reliable platform. It also opens up Amiga computing to people who might not have the space or resources to maintain a traditional Amiga setup. And since it’s an FPGA-based emulation, the experience remains impressively faithful to the original hardware.

Getting Started with the MiniMig 1.97

Setting up the MiniMig 1.97 is straightforward, especially with the resources available on MiniMig.ca. Insert a compatible SD card with the necessary kickstart ROMs and Amiga software, plug in a USB keyboard and mouse, connect to a display via HDMI, and you’re ready to go. For anyone who enjoys tinkering, there are endless possibilities to customize the MiniMig’s settings to recreate the exact Amiga experience you want.

Final Thoughts

The MiniMig 1.97 board is a fantastic addition to any retro computing enthusiast’s collection. Whether you’re a longtime Amiga fan or someone looking to experience this classic system for the first time, the MiniMig 1.97 offers a convenient, modern way to enjoy Amiga computing. I’ll be documenting my own setup and experiences with the board here soon, so stay tuned for updates and photos as I explore everything this impressive board has to offer.

Considering a ReAmiga 1200 Build: Thoughts on Chip Scavenging and Soldering

I’ve been thinking about starting a new project by purchasing a ReAmiga board and repurposing chips from my trusty old Amiga 1200. The ReAmiga has piqued my interest because it offers a way to rebuild or upgrade an Amiga 1200 with a fresh PCB, without losing the charm of the original hardware.

One concern I have, though, is the SMD (surface mount device) soldering required for the sockets. While most components on the ReAmiga board come pre-socketed, the sockets for the scavenged chips require some careful soldering work. Surface mount soldering can be tricky if you’re not well-practiced, and I want to make sure I don’t end up with a frustrating experience or risk damaging the board or components.

That said, with only a few sockets to solder, it shouldn’t be too overwhelming. Once those are securely in place, the rest of the setup should be straightforward, making this project both manageable and exciting. I’m eager to bring new life into a classic piece of tech with the ReAmiga, and this build promises to be an enjoyable (if slightly challenging) journey into retro computing.

I’ll be sure to share some photos of the board and the build process once it arrives, so stay tuned if you’re interested in following along!

Here is the board from the Minimig.ca website

Scroll to top