
Considering a ReAmiga 1200 Build: Thoughts on Chip Scavenging and Soldering
I’ve been thinking about starting a new project by purchasing a ReAmiga board and repurposing chips from my trusty old Amiga 1200. The ReAmiga has piqued my interest because it offers a way to rebuild or upgrade an Amiga 1200 with a fresh PCB, without losing the charm of the original hardware.
One concern I have, though, is the SMD (surface mount device) soldering required for the sockets. While most components on the ReAmiga board come pre-socketed, the sockets for the scavenged chips require some careful soldering work. Surface mount soldering can be tricky if you’re not well-practiced, and I want to make sure I don’t end up with a frustrating experience or risk damaging the board or components.
That said, with only a few sockets to solder, it shouldn’t be too overwhelming. Once those are securely in place, the rest of the setup should be straightforward, making this project both manageable and exciting. I’m eager to bring new life into a classic piece of tech with the ReAmiga, and this build promises to be an enjoyable (if slightly challenging) journey into retro computing.
I’ll be sure to share some photos of the board and the build process once it arrives, so stay tuned if you’re interested in following along!
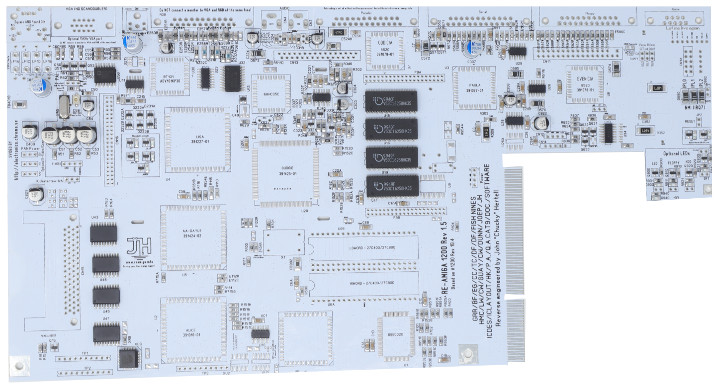
Here is the board from the Minimig.ca website
Recent Comments